
Rockwool Vapor Barrier Installation: The Burbank Owner’s Guide
Rockwool vapor barrier installation in Burbank typically runs $1.20 to $3.50 per square foot installed, depending on whether we’re pairing it with new batt insulation or retrofitting an existing assembly. We stock Rockwool-compatible vapor barrier materials on our trucks and complete most installations in a single visit, often same-day for Burbank homeowners. Most callers discover the problem the same way: a musty smell in a wall cavity, peeling paint near the ceiling line, or a Rockwool batt that’s gone soft and damp where it meets the drywall. In Burbank’s climate, that damp batt is usually a vapor barrier that failed or was never installed correctly in the first place.
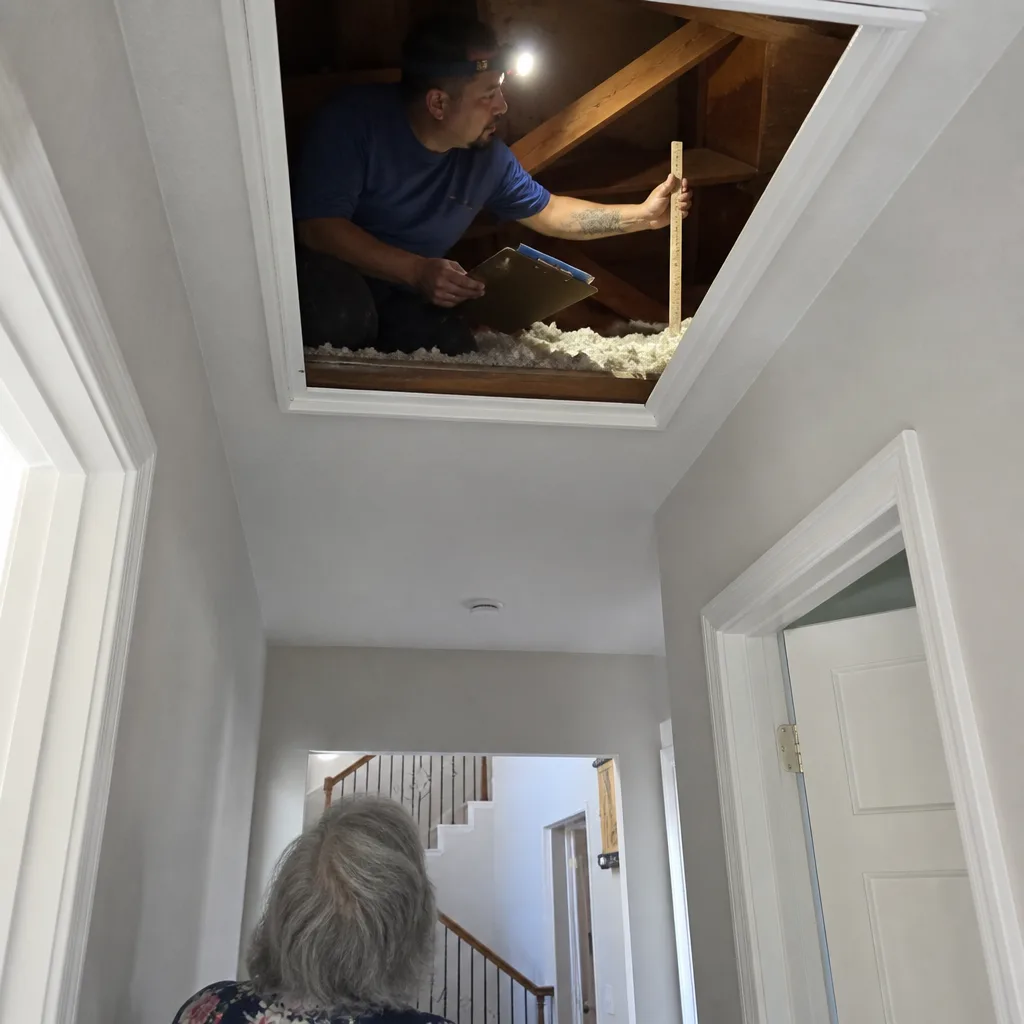
We’re an independent insulation contractor, not affiliated with Rockwool, but we’ve installed their products in hundreds of Burbank homes since 2011.
Which Rockwool Models This Applies To
This applies to nearly every Rockwool batt and board product you’d find in a Burbank wall or attic: Comfortbatt, Comfortboard 80, Safe’n’Sound, and the older Roxul AFB and RXL lines that are still in plenty of mid-century homes around Magnolia Park and the Verdugo foothills. The vapor barrier itself isn’t made by Rockwool – it’s a separate polyethylene or smart-membrane layer installed on the warm side of the assembly. What matters is that the barrier is matched to the Rockwool product’s density and the wall’s drying direction.
Here’s the compatibility gotcha we see constantly: Comfortboard 80 is rigid and vapor-permeable by design, which means a standard 6-mil poly barrier on the interior side can trap moisture inside the wall if the board gets wet from an exterior leak. That’s how you get hidden rot behind Burbank stucco. For Comfortboard exterior applications, we typically use a smart vapor retarder like CertainTeed’s MemBrain or a variable-perm membrane instead of straight poly. For interior Comfortbatt walls, 6-mil poly is usually fine. If you’re pulling an old batt and the facing looks like kraft paper, that’s a Grade D vapor retarder from the 1960s or 70s and it was never going to hold up in a Burbank summer.
OEM versus aftermarket doesn’t really apply to vapor barriers the way it does to appliance parts – there’s no Rockwool-brand polyethylene to match. What matters is thickness (4-mil minimum, 6-mil standard), perm rating (under 0.1 for a true Class I barrier), and how it’s sealed at the seams and penetrations. We carry 6-mil poly, MemBrain, and Intello Plus on the truck, so the decision happens on-site, not over a catalog.
Signs Your Rockwool Vapor Barrier Installation Is Failing
- Damp or discolored Rockwool batts. When you pull an outlet cover on an exterior wall and the insulation behind it looks darker, heavier, or feels spongy, moisture has been condensing inside the cavity. The barrier has a hole, a bad seam, or was installed on the wrong side. In Burbank’s dry summers this is easy to miss; by winter, that moisture is doing real damage.
- Musty smell that comes and goes. That odor is usually mold or mildew feeding on the paper-facing or drywall paper where water vapor has been accumulating. Rockwool itself resists mold, but the surrounding materials don’t. The smell gets worse when the AC kicks on because air movement stirs the spores out of the wall.
- Peeling paint or bubbling drywall tape near the ceiling or baseboards. This is condensation you can see. Warm, moist interior air is hitting a cold surface because the barrier has a breach. We see this on north-facing walls in Burbank homes built before vapor barrier code requirements existed.
- Frost or condensation on sheathing in winter. If you’re in the attic and see frost on the underside of the roof deck or water staining on the wall’s top plate, interior moisture is migrating up and freezing. That’s a classic failed or missing barrier symptom in older Burbank construction.
- Higher humidity upstairs or in a specific room. One room that feels clammy while the rest of the house is dry usually means that wall assembly isn’t managing moisture. Your AC is working harder to compensate, and that’s money leaving through your utility bill every month.
Replacement Cost & What’s Included
For a Burbank homeowner, the installed cost breaks down like this:
- Vapor barrier retrofit on an existing insulated wall: $1.20 – $2.00 per sq ft, including removal of damaged batts, barrier installation, seam sealing, and reinstallation. Most Burbank exterior walls run 100-250 sq ft, so expect $200-$500 per wall.
- New vapor barrier paired with new Rockwool batt installation: $2.50 – $3.50 per sq ft, all-inclusive. A typical 1,500 sq ft Burbank attic with new R-38 Rockwool and a proper barrier runs $3,700-$5,200.
- Labor-only barrier replacement (we pull the drywall, you supply materials): $85-$120 per hour, most jobs finishing in 4-6 hours for a single wall.
You’ll see a range because wall access changes everything. A simple attic floor barrier is fast. A finished wall requires cutting drywall access, which means patching and paint after. We quote the full price before work starts – no surprises, no add-ons. Every installation is covered by our 90-Day Done Right Promise: if it’s not right, we make it right. And if you’re a senior or veteran, the permanent 5% discount applies on top of any other offer.
DIY or Call Us?
Let’s be honest about what this job involves, because we’ve fixed plenty of DIY vapor barrier attempts across Burbank. If the barrier is in an open attic or unfinished basement area, you can safely inspect it yourself: look for tears, gaps at seams, missing tape, or areas where the barrier has pulled away from framing. Checking is free and smart.
The installation itself is where DIY goes wrong. Getting the perm rating right for your specific Rockwool product and wall orientation is building science, not guesswork. A wrong-side barrier in a Burbank home with stucco exterior can trap moisture and cause $10,000 in rot repair within three years. Seam sealing requires the right tape (acoustic sealant or barrier-rated tape, not duct tape), and if you’re cutting into finished walls, you’re also dealing with electrical wiring, plumbing runs, and drywall repair. This part of the job is genuinely risky to get wrong and expensive to fix. Call (747) 837-5834 and we’ll send a background-checked, uniformed technician who’s done this hundreds of times. Good insulation shouldn’t be something you think about – that means it’s working.
FAQs
A properly installed vapor barrier lasts 30-50 years, effectively the life of the wall assembly. What fails first in Burbank is not the barrier itself but the seams and penetrations – tape dries out, staples pull through, and outlet boxes create gaps. Most failures we see are installation errors from the original build, not material breakdown.
Small tears under 12 inches can usually be repaired with barrier-rated tape and seam sealant, which we do for around $150-$250 including inspection of the surrounding area. But if the barrier is brittle, has multiple breaches, or was installed on the wrong side of the wall, replacement is the honest fix. Call (747) 837-5834 and we’ll tell you which one you’ve got – estimates are free.
Most vapor barrier installations take 4-6 hours for a standard wall or attic section. If we’re also replacing Rockwool batts, a full attic is usually one day. Most jobs are completed in a single visit, and our upfront pricing means the quote you get is the price you pay.
Yes. Every truck carries 6-mil poly, CertainTeed MemBrain, Intello Plus, barrier tape, and acoustic sealant, plus commercial-grade Rockwool batts. We also stock Reflectix for radiant barrier applications, so if your project needs multiple material types, we handle it in one trip.
Repair is cheaper upfront – usually $150-$250 versus $200-$500 per wall for replacement. But if the barrier is old enough to be failing, the Rockwool behind it has often absorbed moisture and lost some R-value. We’ll tell you straight: if the batt is damp, replacement is the smarter money. Call us for a free assessment.
When you’re ready to get this fixed, call (747) 837-5834. A live person answers 24/7 – no voicemail, no answering service. We’ll schedule a free estimate, give you upfront pricing, and get your Burbank home’s walls doing their job again.
Written by Neil Ashford, Owner, Warmline Insulation Co., serving Burbank and nearby areas.